As digital dentistry becomes more accessible, small dental clinics are increasingly adopting in-house manufacturing technologies to improve efficiency and reduce dependence on external laboratories. However, introducing a 3D printing workflow requires careful space planning to ensure smooth operation, proper equipment placement, and effective infection control.
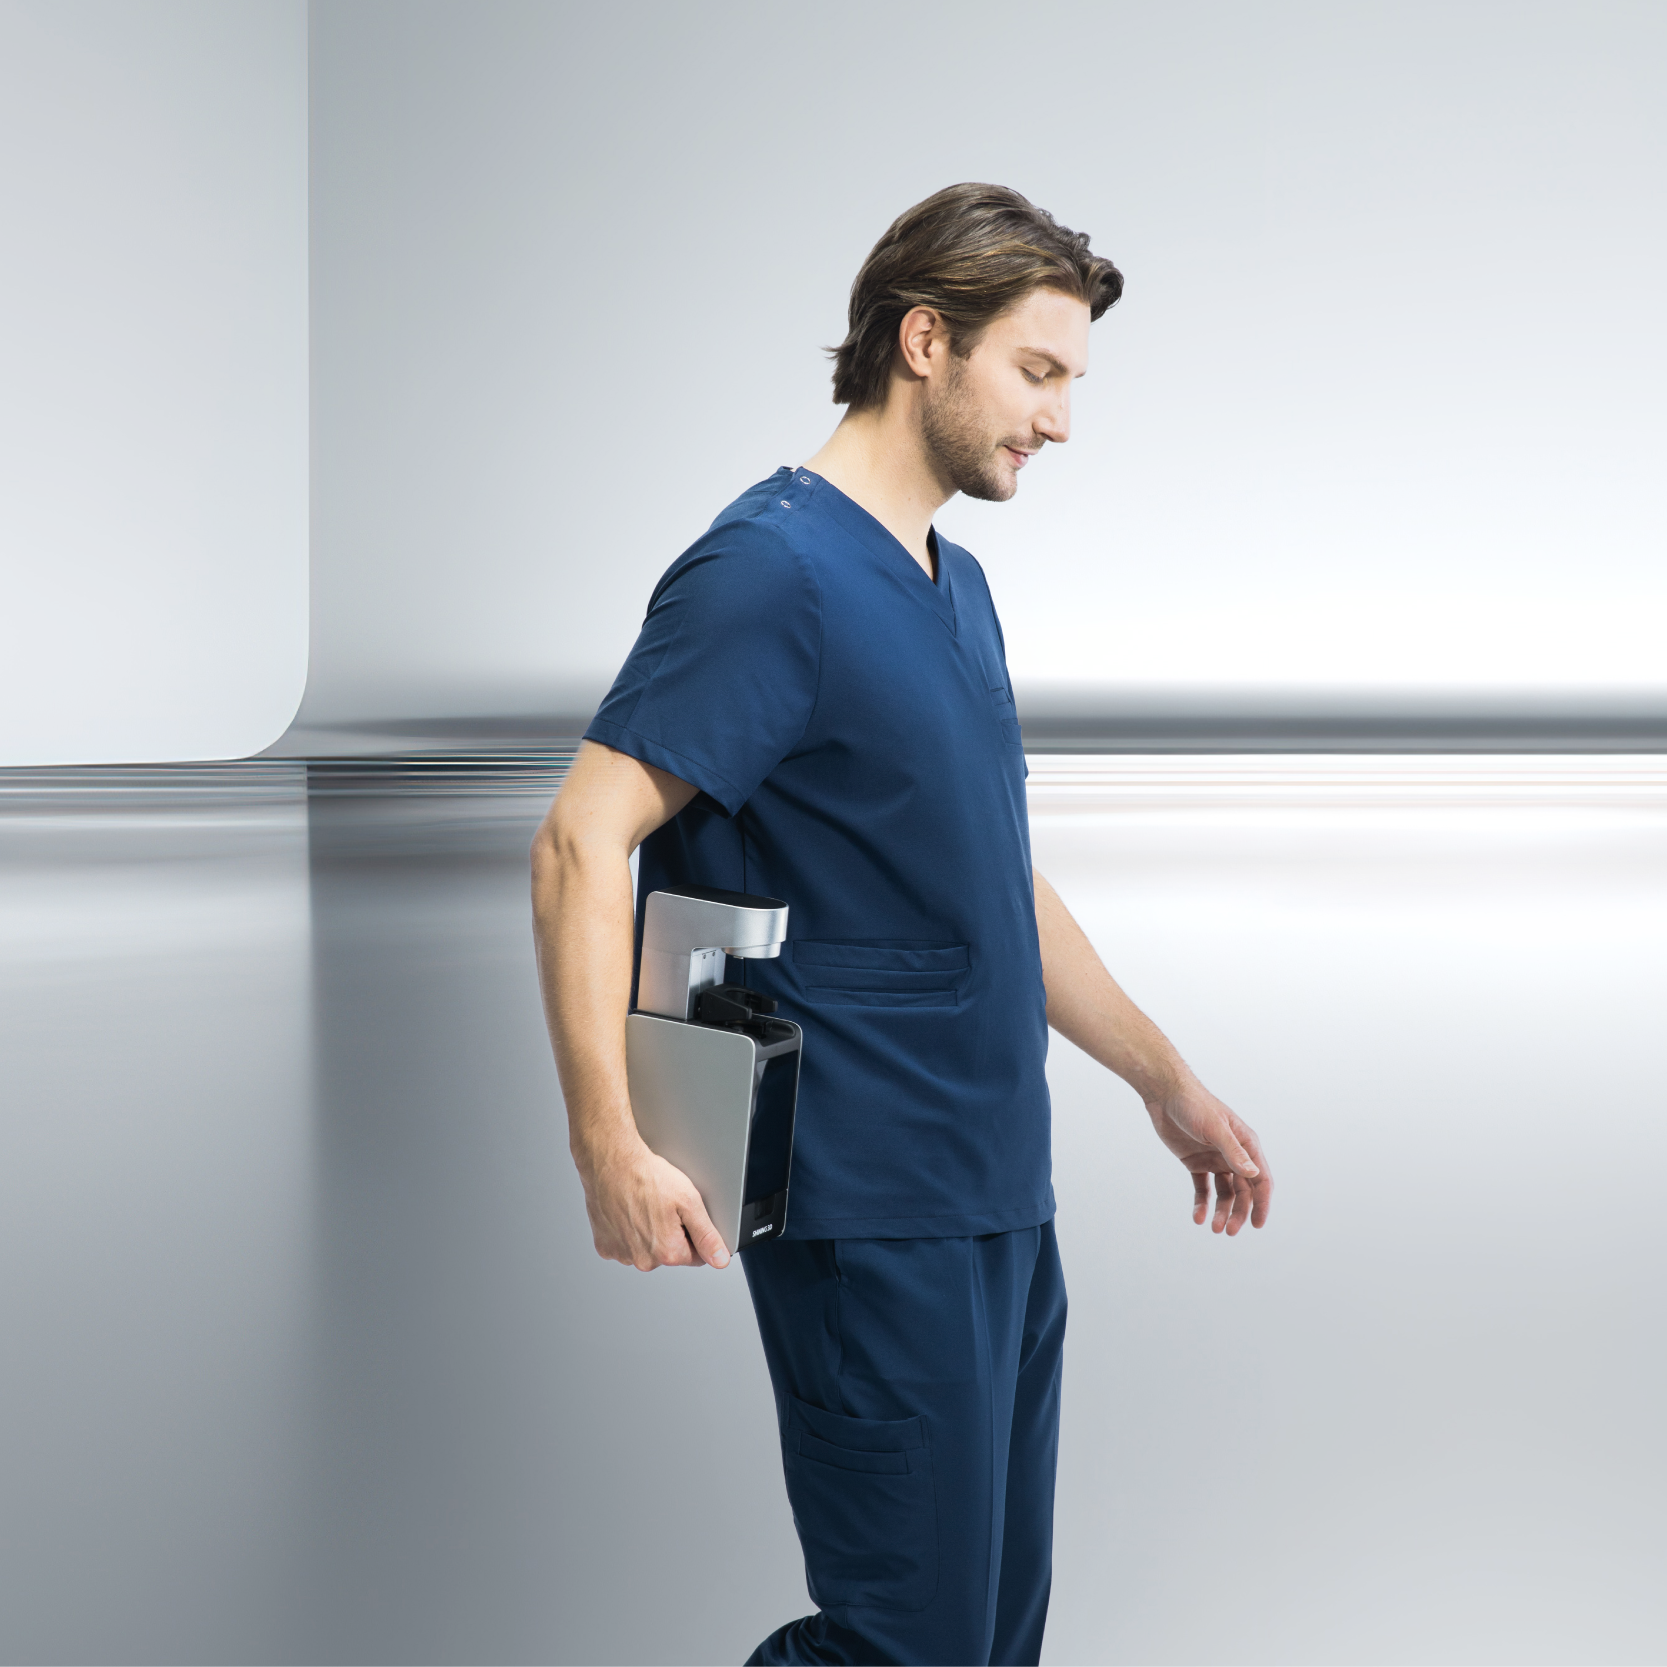
A well-designed dental printing area does not necessarily require a large room. With the right layout, a dental office 3D printer setup can fit into a compact clinical environment while supporting applications such as dental models, temporary restorations, and customized dental devices.
When selecting equipment for limited spaces, clinics should consider not only the physical size of a printer but also workflow requirements, material storage, post-processing needs, and daily operation efficiency. SHINING 3D Dental provides digital dentistry solutions, including the Ceramix-Nano solution, which supports advanced dental manufacturing workflows and helps professionals explore efficient in-office production.
Why Space Planning Matters for a Dental Office 3D Printer?
A3D printer for dental office applications is not a standalone device. A complete workflow usually includes digital design, printing, cleaning, curing, quality inspection, and storage. Poor space planning can create unnecessary movement between different steps and reduce productivity. For small clinics, the goal is to create a compact but organized production area where each stage has a clear location. A practical layout can help dental professionals complete digital manufacturing tasks without interrupting patient care. Before installing a printer, clinics should evaluate available space, power requirements, ventilation conditions, and how frequently the equipment will be used.
Even in a small dental office, it is important to create some separation between patient treatment areas and manufacturing activities. Resin printing workflows may involve liquid materials, cleaning processes, and post-processing equipment. A dedicated digital production zone helps maintain organization and reduces the risk of disrupting clinical procedures. This area does not always require a large room, but it should provide enough workspace for operating the printer, handling materials, and processing printed parts.
Key Space Planning Considerations for a Dental Resin 3D Printer
- Choosing the Right Location
The location of a dental resin 3D printer can influence both workflow efficiency and equipment maintenance. The printer should ideally be placed on a stable surface away from excessive vibration, direct sunlight, and areas with frequent movement.
A suitable location should provide:
- Easy access for dental staff
- Sufficient working space around the equipment
- Convenient access to power sources
- Organized storage for materials and accessories
For small clinics, placing the printer near the design workstation can improve efficiency because digital files can be transferred quickly from software to manufacturing.
- Planning Space for Post-Processing
A common mistake when installing a dental office 3D printer is focusing only on the printer itself. Resin printing requires additional steps after printing, including cleaning and curing.
A complete setup may include:
- Printing area
- Resin storage area
- Washing station
- Curing equipment area
- Finished product storage
These areas should be arranged logically to create a smooth workflow from printing to final use. A compact workstation design can combine these functions while keeping materials organized. Small clinics can use dedicated cabinets, shelves, or mobile workstations to maximize available space.
- Organizing Materials and Supplies
Resin materials require proper storage and management. A well-organized material area helps prevent confusion between different resin types and improves daily efficiency.
Clinics should consider:
- Labeling resin containers clearly
- Separating different material categories
- Protecting materials from unsuitable environmental conditions
- Keeping frequently used tools within easy reach
For clinics using multiple dental applications, organized material management becomes especially important because different cases may require different printing materials.
How a Compact Dental Printing Setup Improves Clinic Efficiency?
- Supporting Same-Day Digital Workflows
One advantage of having a 3D printer for dental office applications is the ability to shorten production cycles. Instead of sending every case to an external laboratory, clinics can produce certain digital components internally. This can help improve communication between dentists and technicians while providing greater control over treatment timelines.
For example, digital patient data can be converted into a design file and then printed within the clinic workflow. This reduces transportation delays and allows dental teams to manage cases more efficiently.
- Improving Patient Communication
A dental printing area can also support better patient education. Printed models allow dentists to explain treatment plans using physical examples, helping patients understand procedures more clearly. Digital manufacturing tools can make treatment discussions more visual and interactive. This is especially useful for restorative and orthodontic cases where patients benefit from seeing customized designs.
- Integrating SHINING 3D Dental Solutions Into Small Clinics
SHINING 3D Dental develops digital solutions designed to support modern dental workflows, covering areas such as scanning, design, and manufacturing. The company’s Ceramix-Nano solution focuses on advanced dental material applications and digital production processes, helping professionals explore new possibilities in restorative dentistry. For clinics considering a dental resin 3D printer workflow, selecting a solution that integrates with existing digital systems is essential. A connected workflow allows dental professionals to move smoothly from digital design to manufacturing while improving overall efficiency.
By combining digital technologies with practical workspace planning, small dental clinics can create effective in-house production environments without requiring extensive space.
Practical Layout Tips for Small Dental Offices
- Use Vertical Storage Solutions
When floor space is limited, vertical storage can help maximize the available area. Shelving units and organized cabinets can keep materials, tools, and accessories accessible without occupying valuable workspace.
- Keep Workflow Direction Simple
A good layout should follow the natural production sequence:
- Digital design preparation
- Printing
- Cleaning
- Curing
- Quality inspection
- Storage or clinical application
Keeping this sequence organized reduces unnecessary movement and improves daily productivity.
- Consider Future Expansion
Although small clinics may begin with basic digital manufacturing needs, future growth should also be considered. A flexible workspace allows additional equipment or new applications to be added later. Choosing a scalable setup helps clinics adapt as digital dentistry continues to develop.
Conclusion
Planning a dental office 3D printer area requires more than finding space for the printer itself. Small clinics need to consider the entire digital workflow, including material storage, post-processing, organization, and future expansion.
A properly designed 3D printer for dental office setup can help improve efficiency, support patient communication, and bring more digital manufacturing capabilities into everyday practice. By combining thoughtful space planning with advanced solutions such as SHINING 3D DENTAL‘s Ceramix-Nano workflow, dental professionals can create a practical and efficient environment for modern restorative dentistry.
